CAR PC in car is now old school and I decided to mount an iPad mini into the dashboard.
Advantages:
- Power Consumption (No need for any inverter or something to power it!)
- Embeded Battery (No issue for use with ignition off)
- Fast Boot Time (No need to wait for Windows Boot)
- Simple User Interface with capable of touch screen.
- Multi-touch support with capacitive display capabilities.
- Embedded GPS, 3G, Bluetooth, Siri, etc.
Dashboard Stuff
First I started to search on google on how to find a way of mounting iPad mini into my dashboard. It should be mountable so I can use it at home also. I found a web-store (http://www.fifieldfabrications.com) and bought one there. Also there is a placement for lightning port plug.
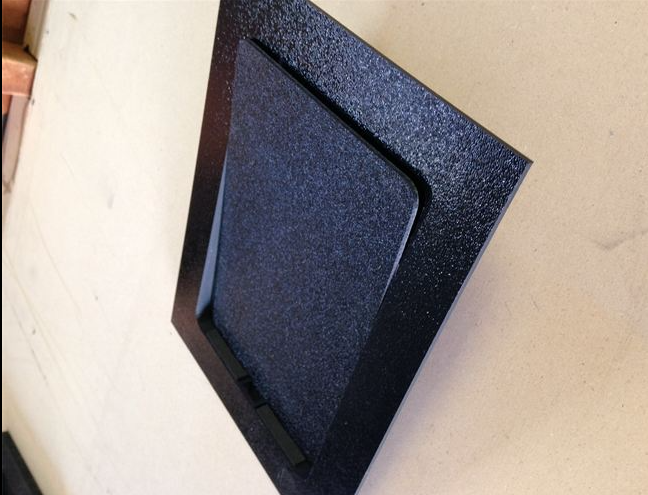
Then I started to work on that mount kit to fit into my Citroen C4 dashboard:


For fitting that mount kit properly later, I decided to make putty in Car. I used epoxy putty because of its flexibility and durability.

Electronics Stuff
At this point I stopped working on body stuff and began to work on electronics. We need 2 main requirements:
- Charging iPad mini.
- Getting sound output from iPad mini lightning port.
1. Charging iPad mini in CAR:
For charging iPad you need 5V 2A. I tried going using 7805 IC but I did not have time to build a proper circuit for it. As a result of heating problems, I disassembled my 12V car charger and used it.
2. Getting sound from lightning port:
I used a preassembled 30-pin dock connector pin-out board. I just soldered the proper pins for sound output.
The biggest problem is, it is easy to get sound from 30 pin, but it is not from lightning port (because it’s digital!). I achieved that by using original apple 30 pin to lightning converter.

As seen below, sound output is connected between 3.5 mm jack on pin-out board and radio aux input. And via USB plug, is charged via car charger.

Lightning Connector
I used silicon gun for fixing the lightning connector to mount kit.

Body Work
now cosmetics… To fill the left and right side of mount kit, I used cardboard and applied epoxy putty on it.

After lots of sandpaper, I applied polyester putty to obtain a glossy surface.

Then I used gray acrylic primer.

ipad mini in car
I used glossy black paint after applying primer.

ipad mini in car – paint in black
after and after and after lots of sandpaper work, I used such oily polish for glossy finish.

ipad mini in car – polish for glossy
After polish ..

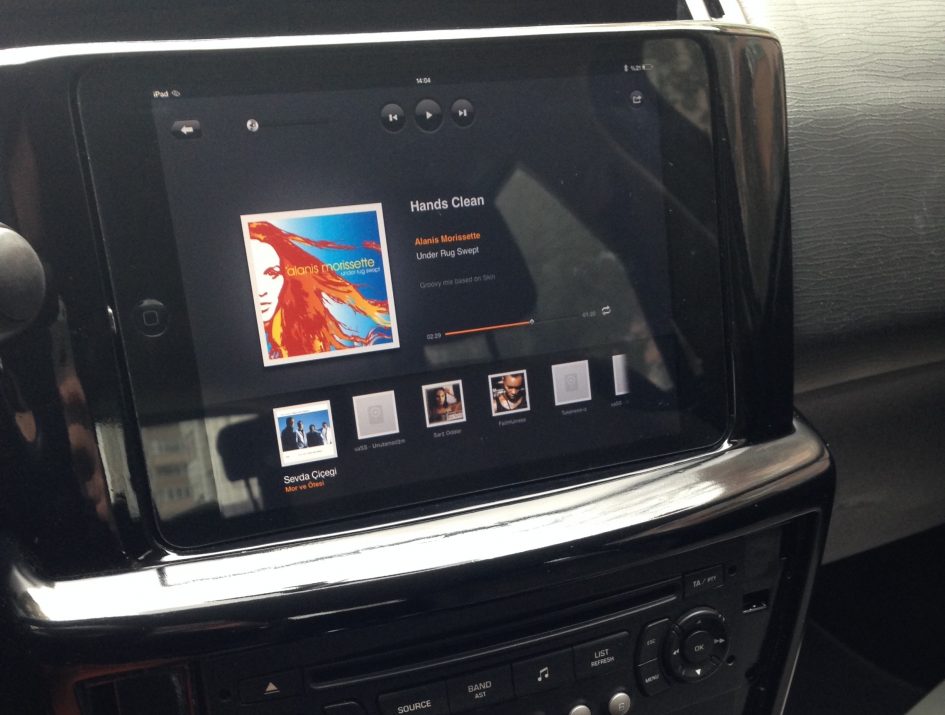
After fitted to car dashboard;


iPad mini in CAR – completed
March 8, 2014 at 19:50
Güzel olmuş güle güle kullanın.
Sormak istediğim merkezi kilit ve dörtlü sinyal düğmelerini ekran montajından sonra nereye yerleştirdiniz birde gün ışığında ekran görüntüsü nasıl yeterlimi?
March 8, 2014 at 20:01
merkezi kilit ve 4lüleri yazılımsal olarak çözmeyi planlıyorum. Bunun için bir ios uygulaması geliştiriyorum. Radyo verilerini, 4lülerin yanıp yanmadığını, merkezi kilit durumunu alabiliyorum ama henüz veri gönderip state değişikliği sağlayabilmiş değilim. O tamamlanana kadar üstte bulunan havalandırma ızgarasından elimi sokup düğmelere basıyorum. Pek iyi bir çözüm sayılmaz şimdilik.
Gün ışığı mevsimsel açıdan sorun çıkarmıyor. Tabletin gün ışığına göre ekran aydınlatma şiddetini değiştiriyor olması oldukça faydalı. Yaz güneşini beklemek lazım.
May 11, 2014 at 16:04
Size Hangi Mailden Ulaşabilrim ?
May 12, 2014 at 19:53
[email protected]